-
-
Ensure that an Ethernet cable has been plugged into the rear of the electronics box
-
If your unit is not on, please flip the top power switch on the back of the electronics box to the on position.
-
Once the unit powers on, go to the touchscreen and select the SETTINGS tab at the bottom of the screen. check the IP address at the bottom of the SETTINGS tab.
-
If the IP address shows 0.0.0.0, select the Consol Tab across the bottom of the screen and enter in "M552 S1". The consol will then spit out your IP address for the Ethernet
-
Once you have your IP address you will be using it in the next few steps.
-
-
-
Once your unit is powered on by flipping the top power switch to the position located on the back of the electronics box and go to your touchscreen.
-
click on the console tab at the bottom of the touch screen.
-
New line.In the console enter: M552 S0
-
next enter: M587 S"Your networks SSID" P"Your networks password"
-
Next enter: M552 S1
-
After roughly 30 seconds it should provide you with an IP address.
-
-
-
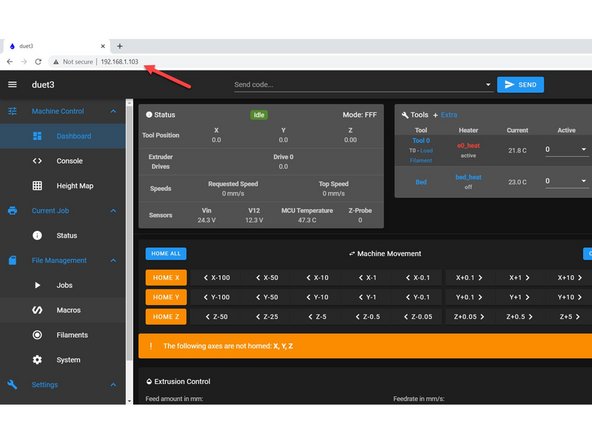
Open your prefered web browser
-
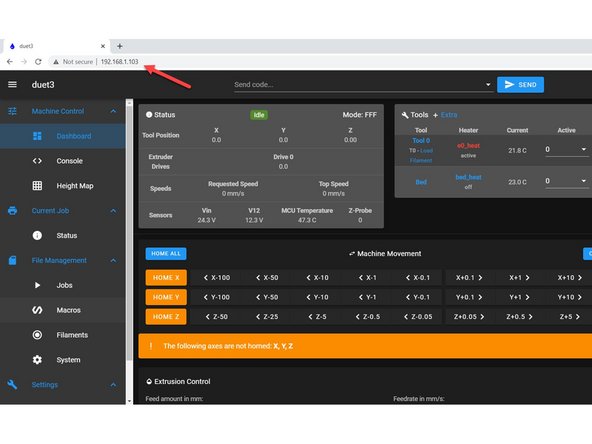
Enter the IP Address, you were supplied in the previous steps into the Address Bar and hit enter
-
The web interface should load in your browser.
-
If you have any issues connecting to the Web Interface please contact us.
-
-
-
Ensure your unit is connected to the network and open your web interface using the IP address for the Unit.
-
If you need to find out your IP address follow the steps in getting connected to obtain it.
-
-
-
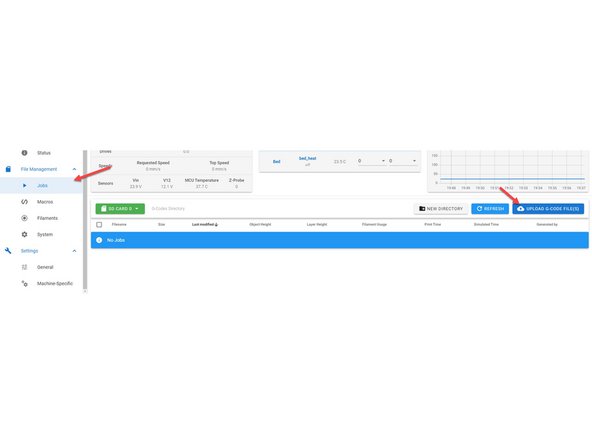
To upload your file for printing later go to the Jobs category on the left side of your Web Interface.
-
Next, click on the Upload Gcode button.
-
Find the file on your computer you would like to print.
-
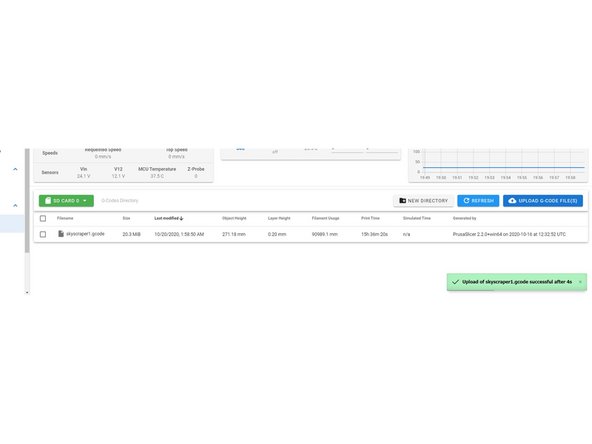
New linThis will save the file on the Daedalus, you can then print this file from the Jobs category without having to upload it again.e.
-
-
-
If you want to upload a file for immediate printing, ensure nothing is running on the Daedalus and that the build plate is clear.
-
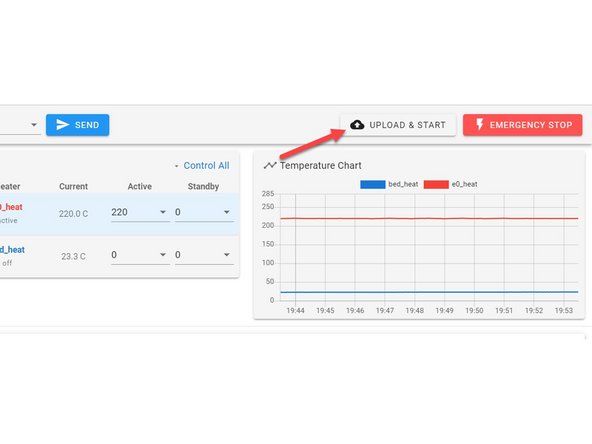
Click the button on the top right of the Web Interface called "Upload & Print"
-
This will also save the file in the Jobs category that you can recall whenever needed but rather than just uploading it, it will start the job immediately after uploading.
-
-
-
Now that your filament is loaded we can start printing one of the preloaded files.
-
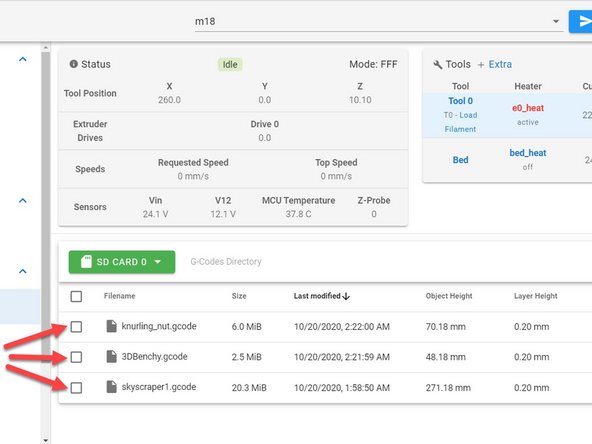
Go to the Jobs category on the left side of the Web Interface.
-
Select a loaded file, if you do not have any files loaded view this guild: How to Upload Print Files to the Talos
-
-
-
Once you select which file you would like to print, left-click on it and select print.
-
Your unit will now start heating,
-
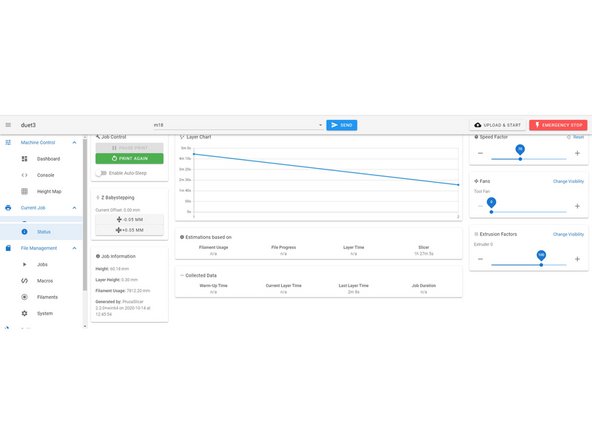
Once the print is selected it will switch you over to the Status category where you can monitor your print and make adjustments where needed.
-
-
-
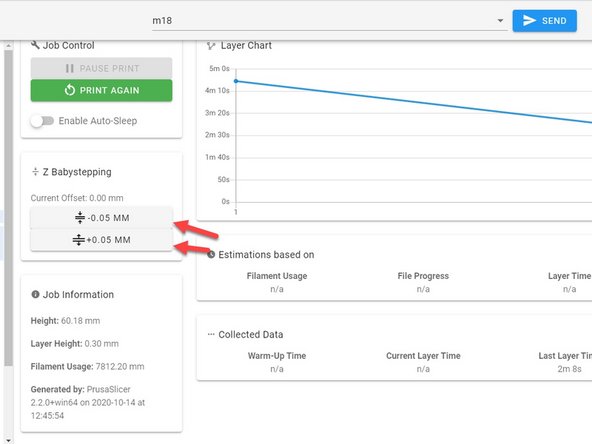
Once your print starts, if you see that the first layer isn't sticking down well enough or it is too close to the bed you can adjust it with the Baby Stepping option on the left-hand side of the Status category
-
If your first layer is too close, select the arrows that are pointing away from each other until the first layer is correct.
-
If your first layer is too far away select the arrows that are pointing towards each other until you are getting good adhesion
-
These Baby Step adjustments will remain until the printer is turned off. If you find that you are always having to adjust the Baby Stepping after each restart by the same amount, you can make a permanent adjustment with the Z Offset. Instructions for that can be found in Troubleshooting
-
Almost done!
Finish Line

