
-
-
You have two options when it comes to connecting to the internet.
-
The first option is via the Ethernet port on the right side of the unit, this is recommend for production environments.
-
The next option is via WiFi if Ethernet is not accessible.
-
-
-
What you will need to connect via Ethernet.
-
Daedalus 3D Printer
-
Ethernet Cable (Not Included)
-
Power Cord (Included)
-
-
-
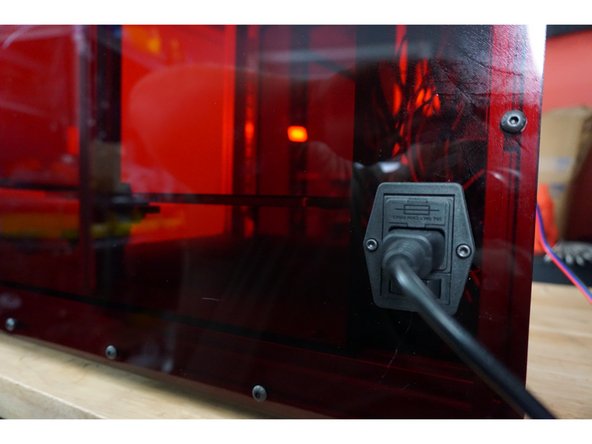
Plugin the power cable to the right side of the unit
-
Ensure the printer is off
-
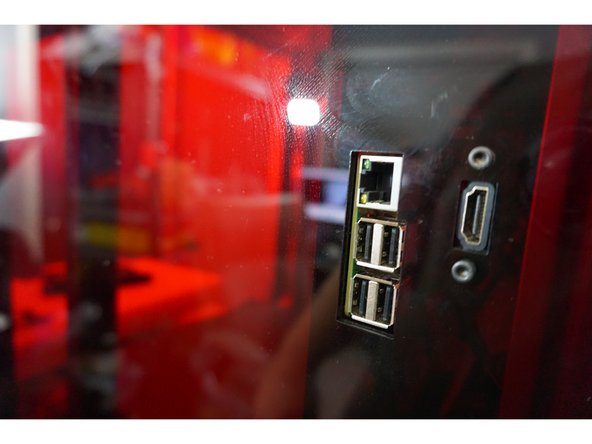
Plug in the Ethernet to the right side of the printer
-
Plug the USB provided into the machine, wait 3 minutes and remove it. Plug it into a computer and open the IP_ACCESS file which will give you the IP address
-
-
-
What you will need to connect via WiFi.
-
Daedalus 3D Printer
-
Computer (only for SBC equipped units)
-
Power Cord (Included)
-
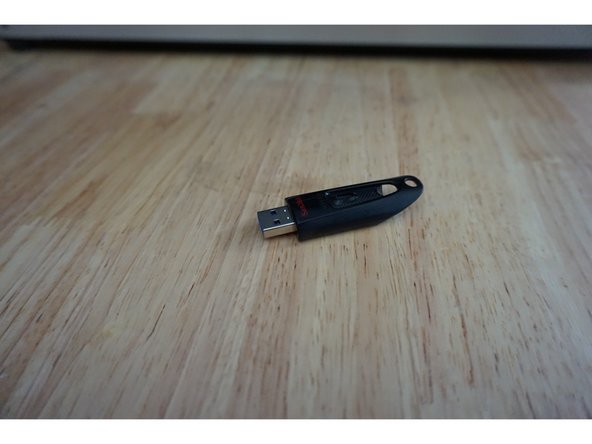
USB Drive (Included with SBC equipped units)
-
Antena (for standard units without SBC)
-
-
-
Install the included antenna to the right side of the unit.
-
On the touch screen select the console tab at the bottom.
-
Send M552 S0
-
next enter: M587 S"Your networks SSID" P"Your networks password"
-
Next enter: M552 S1
-
After roughly 30 seconds it should provide you with an IP address.
-
Upon boot up if you don't see the unit connect to run the Macro "WiFi On" on either the main screen or under the Macros tab.
-
-
-
Plugin the included USB Drive into your computer.
-
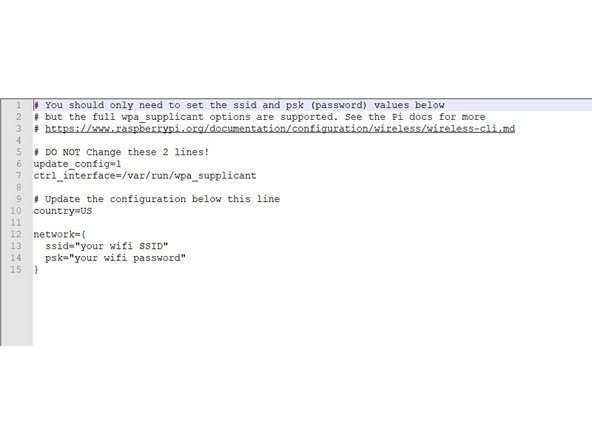
On the USB Drive there is a file called WPA_SUPPLICANT . Open the file and fill in the following information :
-
SSID: (the name of the network you are attempting to connect to)
-
Password: (this is your WiFi password)
-
Save the file and eject your USB Drive.
-
We use Notepad++ for editing your wifi information it can be found here https://notepad-plus-plus.org/
-
-
-
Plug the Power Cord into the right side of the Daedalus Unit.
-
Ensure the unit is off.
-
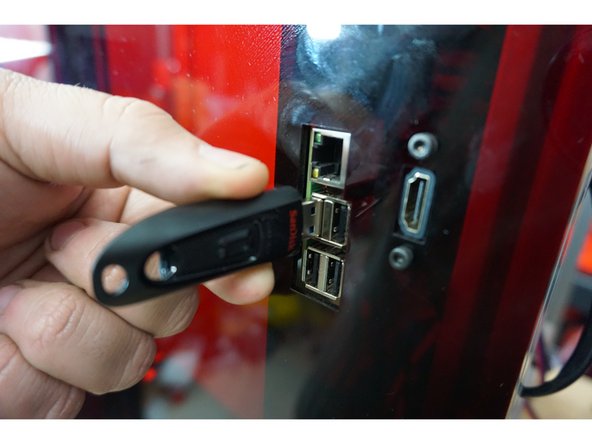
Plug the USB Drive into any of the four open USB ports on the right side of the unit.
-
Power on the unit and wait 3 minutes while the unit powers on. This wait time is only needed when uploading your WiFi information.
-
During this time it will rewrite the onboard WiFi information. Once it's rewritten it will create a file on the USB Drive named (Name) where it will give you the IP address that allows you to access your printer via the web interface.
-
-
-
Now you can remove your USB Drive from the unit.
-
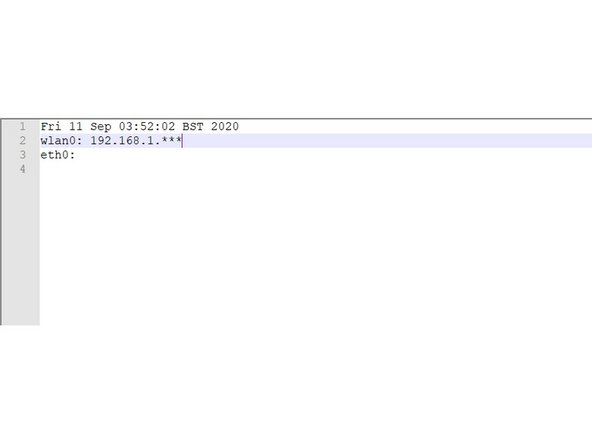
Insert the USB Drive back into your computer and open the file named IP_ADDRESS
-
Your IP Address will look like this: 192.168.1.***
-
-
-
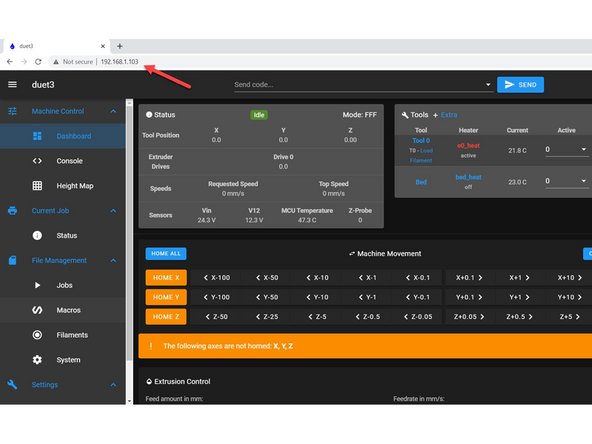
Open your prefered web browser
-
Enter the IP Address, you were supplied in the previous steps into the Address Bar and hit enter.
-
The web interface should load in your browser.
-
If you have any issues connecting to the Web Interface please contact us.
-


Cancel: I did not complete this guide.
3 other people completed this guide.